A Simple Guide to Architectural Rendering
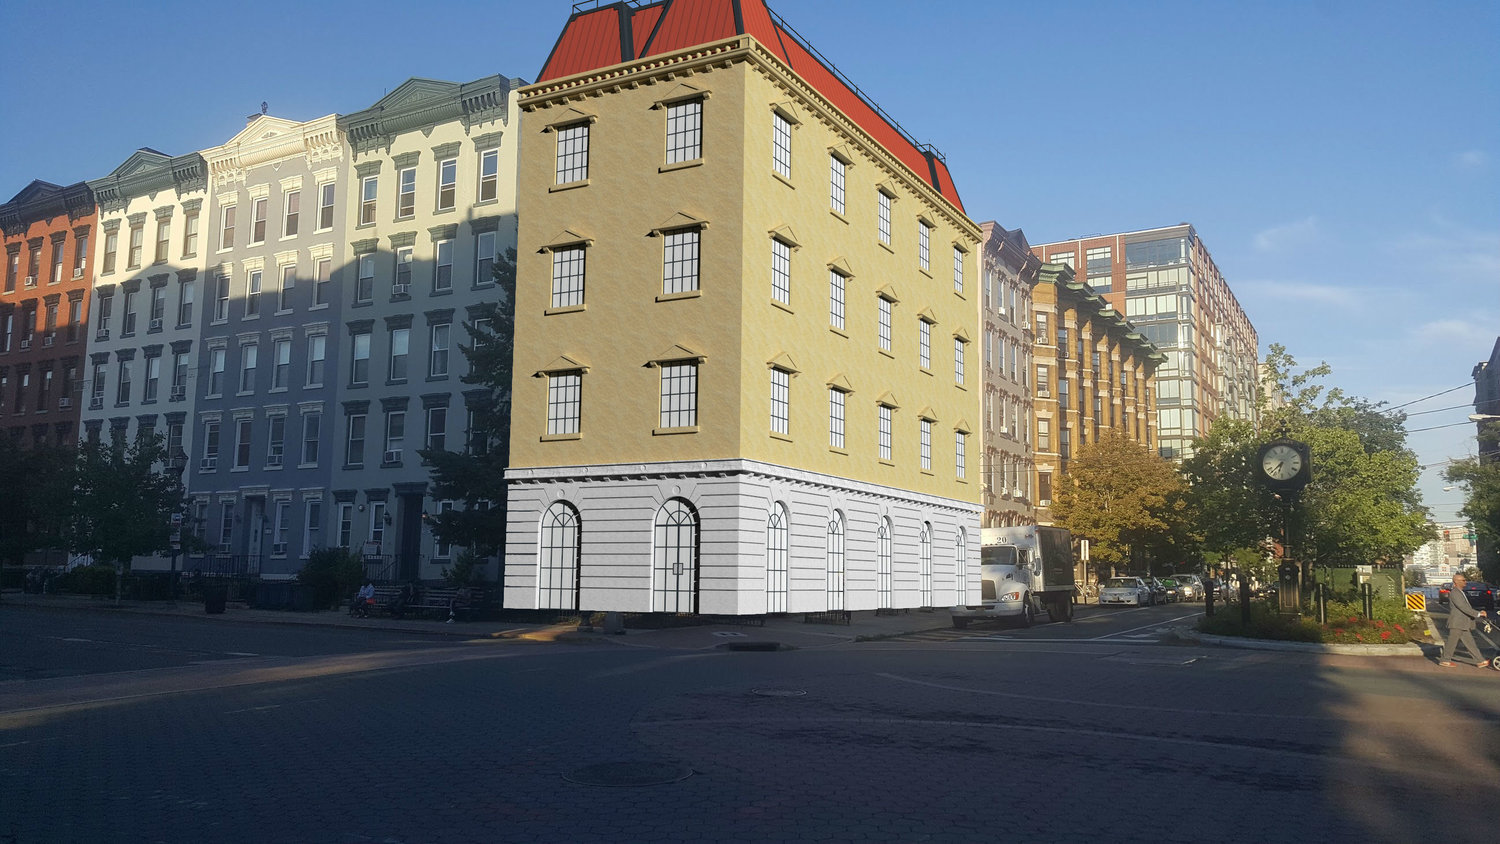
Do you ever wonder what that vacant lot in your downtown would look like filled in with a building? Or perhaps if that one story building near your office had a few extra floors above it? I do, and I often want to show others what I’m visualizing in my head. I've considered taking a photo and sketching over the top of it, but I’m not skilled at perspective drawing so the result would not look good it. Instead, I've come up with some ways I can use the computer to do most of the work for me.
I went from an idea to a 3D rendering of a site in about 12 hours. I'm going to share what I went through, since it'll be useful for anyone who wants to do 3D rending of their own projects. I’m not an architect, artist, or trained in any of this. This is the layman’s guide to architectural rendering.
The next step is to come up with some basic measurements for the building - the number of floors, and the height of each floor. I chose to do four stories that fits in with the scale of the area. I like 11 foot tall ceilings and 1 foot interstitial space, so that’s 12 feet per floor. I noticed that the ground floor is slightly higher on many of buildings, so I made the ground floor 2 feet higher (giving me an extra 2 feet to do a decorative transition between the ground floor and the upper floors, as many buildings do.) I made the roof slightly shorter (10 feet sounds like a nice round number.) Add these numbers together, and my building from ground to rooftop would be 60 feet tall.


